-
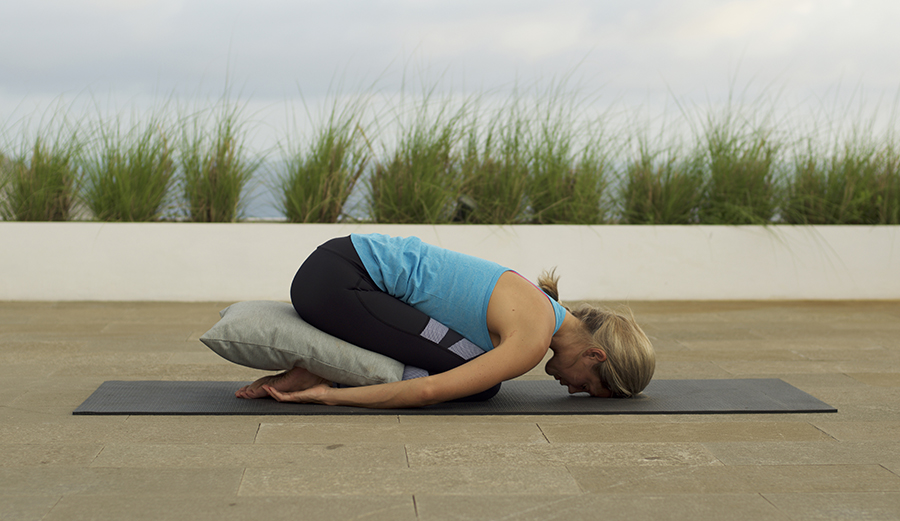
-Child is a counterpose to your paddling position, putting you in spinal flexion. -Bring your arms outside your knees and let go of tension across your upper back and shoulders. If you can’t sit back comfortably on your heels, put a cushion or two between your calves and hamstrings. -Breathe deeply into the front, back and sides of your torso. -Stay in the pose for at least 3 minutes. Photo credit: Paul Baker @pbdrone
-
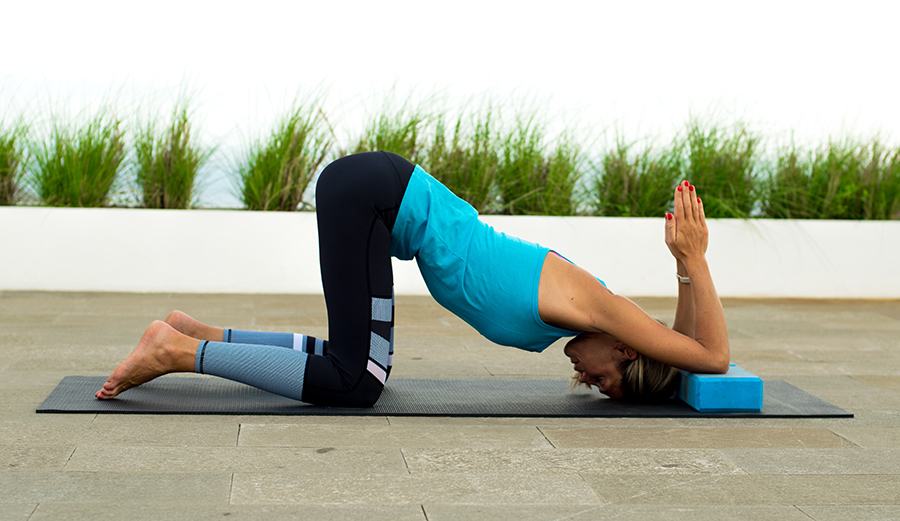
-Puppy pose puts you in spinal extension. -Bring your knees hip-width apart and point your toes straight back. -Pull your hips away from your elbows to feel the stretch in your triceps, shoulders and lats. -Hold the pose for 2 minutes or more. Photo credit: Paul Baker @pbdrone
-
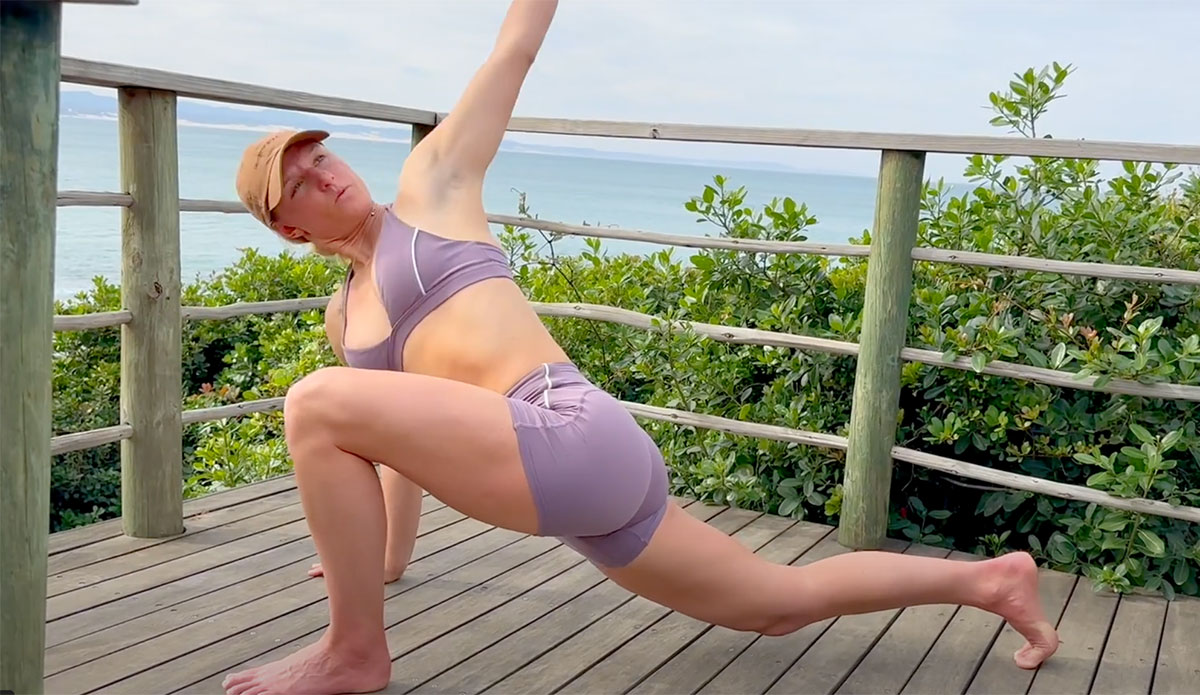
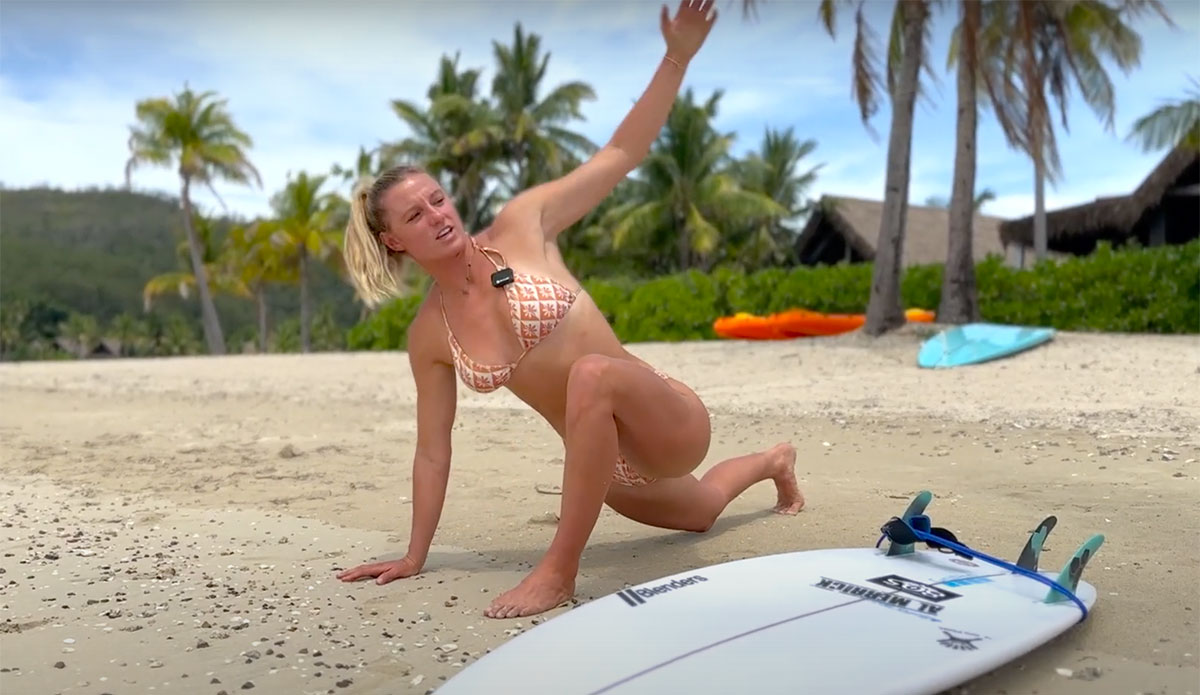
-Scorpion is your first twist, increasing mobility in the spine and stretching your chest and shoulders that get tight from paddling. -Allow the weight of your top knee to fall open and increase the intensity of the twist. -Support your head on a cushion if you feel any discomfort in your neck. -Breathe deep into your abdomen. -This pose should not be painful, so adjust yourself as you need to. -Stay in the pose for at least 2 minutes on each side. Photo credit: Paul Baker @pbdrone
-
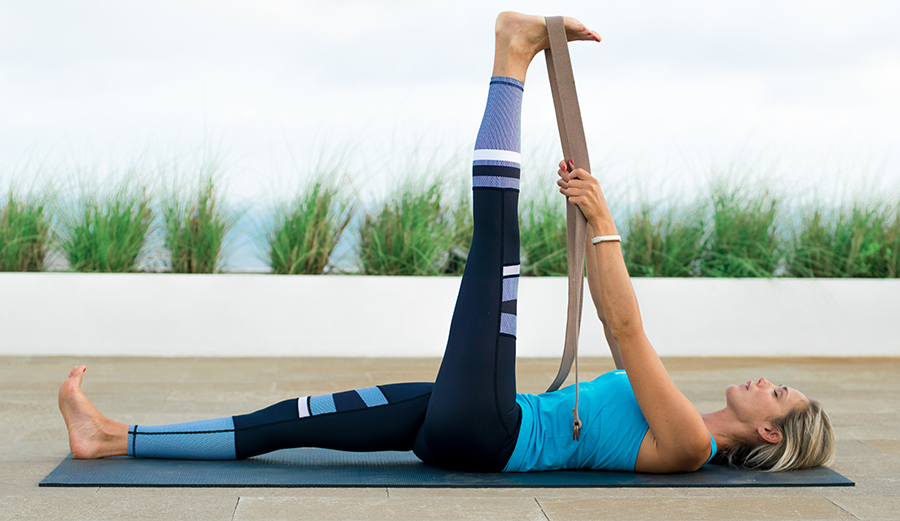
-Reclining Hand To Toe pose stretches the calves and hamstrings safely, without putting pressure on your lower back. -Keep your raised foot flexed and push through your heel. -If you find yourself straining in the pose, you can bend your bottom leg and bring the sole of your foot flat to the mat. -This pose prepares you for hip openers. -Hold for at least 2 minutes on each side, using the weight of your arms to increase the intensity of the stretch. Photo credit: Paul Baker @pbdrone
-
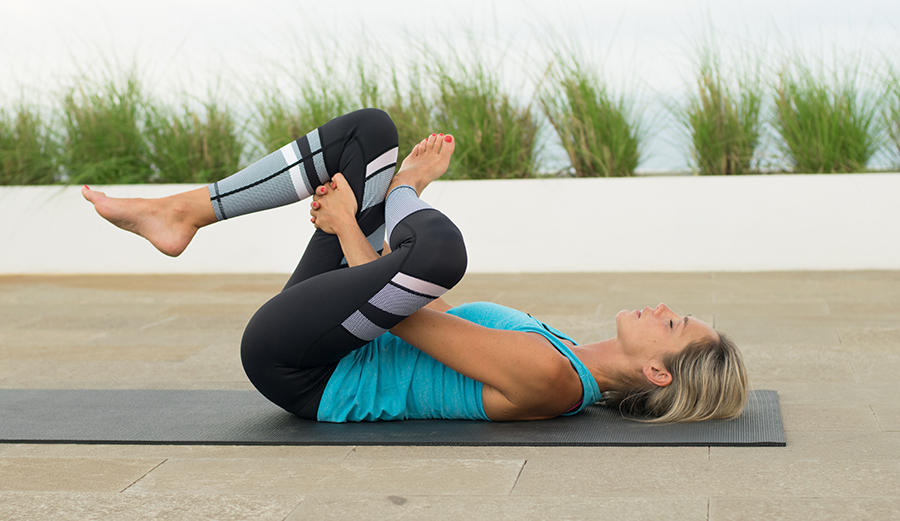
-Dead Pigeon releases the lower back and stretches the outer hips, glutes, groin, hamstrings, knees and ankles. -You can take hold of the back of your thigh or reach through and interlace your fingers around your shin to increase the intensity of the pose. -Press your lower back into the mat. -Hold for at least 3 minutes on each side Photo credit: Paul Baker @pbdrone
-
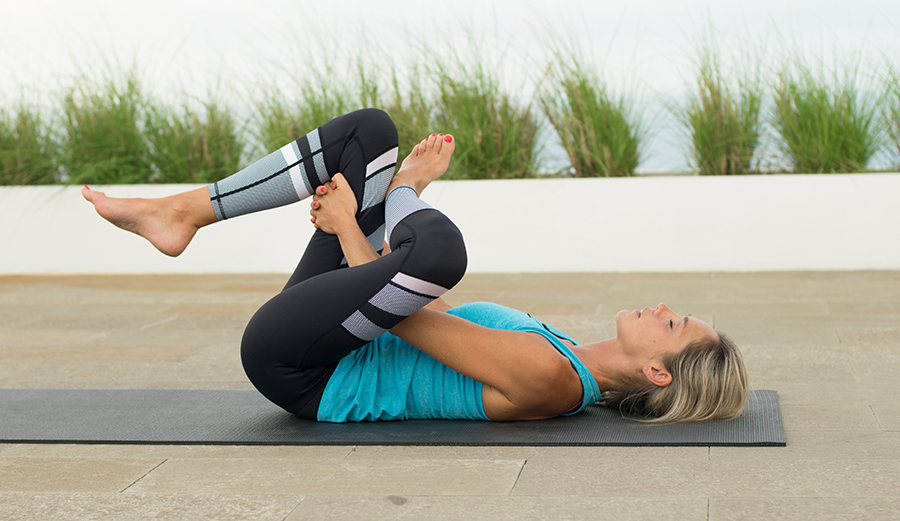
Photo credit: Paul Baker @pbdrone
-
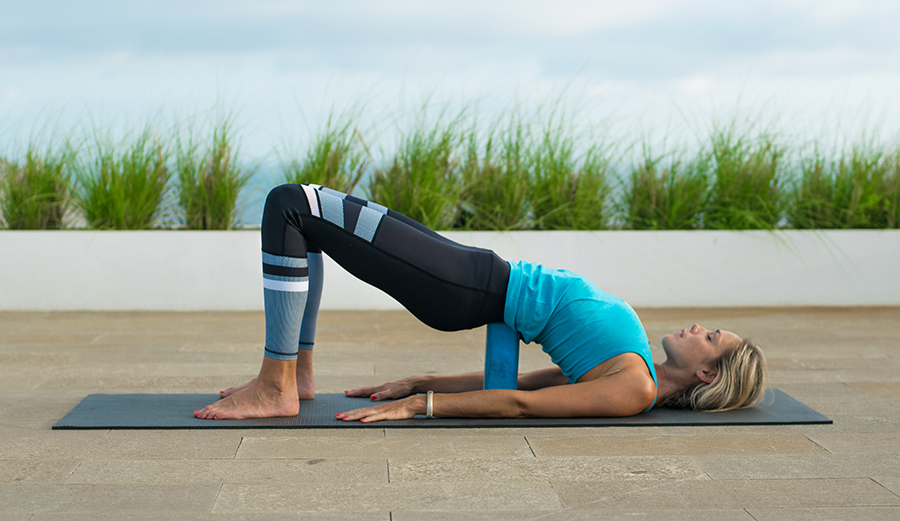
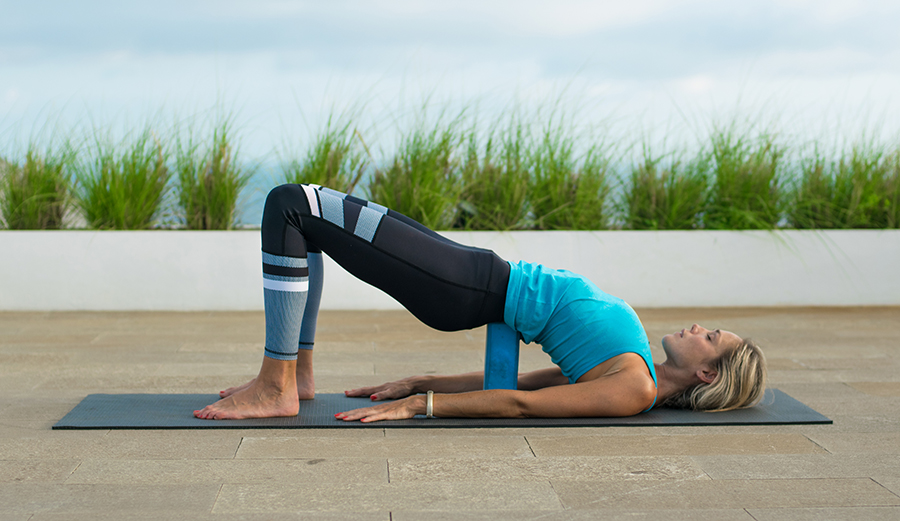
Supported Bridge is a gentle backbend that decompresses the spine, releasing tension at your lower back. It also stretches the abs, chest, shoulders and the back of your neck. Make sure that your feet are hip-width apart and that your toes point straight ahead. Yoga blocks have 3 different heights, so only go as high as you’re ready for. Stay in the pose for at least 3 minutes. Breathe deep into your belly to release your psoas and hip flexors. Supported Bridge is one of the most effective poses for relieving lower back pain, especially if you also suffer from tight hips. Photo credit: Paul Baker @pbdrone
-
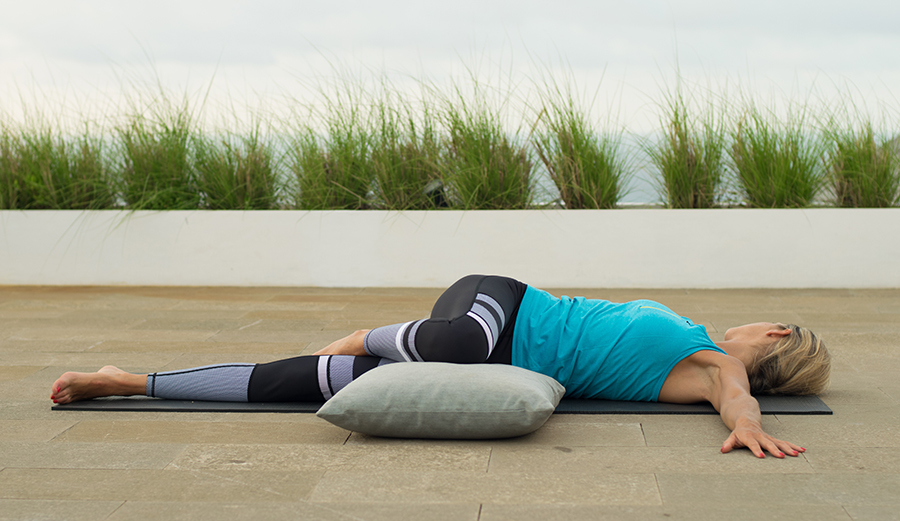
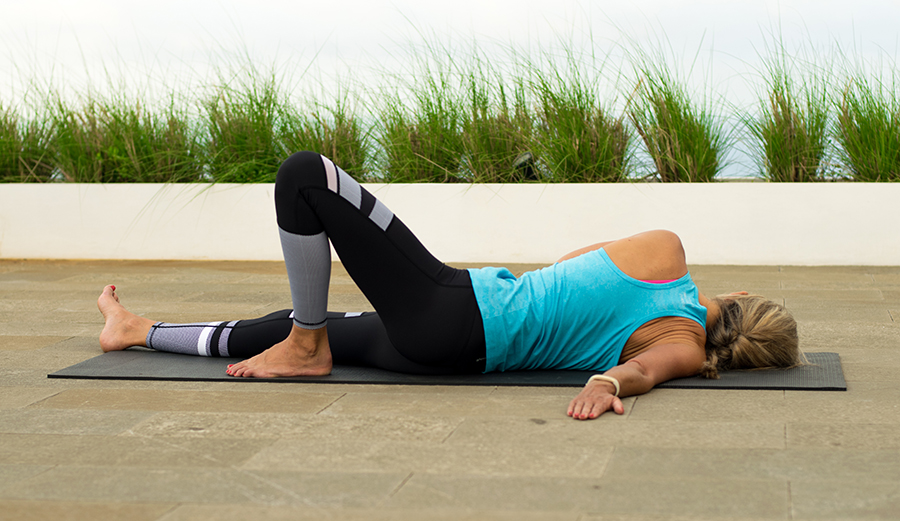
-Reclining Spinal Twist releases tension at the lower back and stretches the glutes, outer hips, lower back, abs, obliques, chest and neck. It also increases spinal mobility. -Try to let go of tension in your neck and shoulders. -If your knee doesn’t come all the way down to the mat, you can support it on a cushion or two. -Stay in the pose for at least 3 minutes on each side, breathing deep into your abdomen and making your exhalations as long and slow as you can. Photo credit: Paul Baker @pbdrone
-
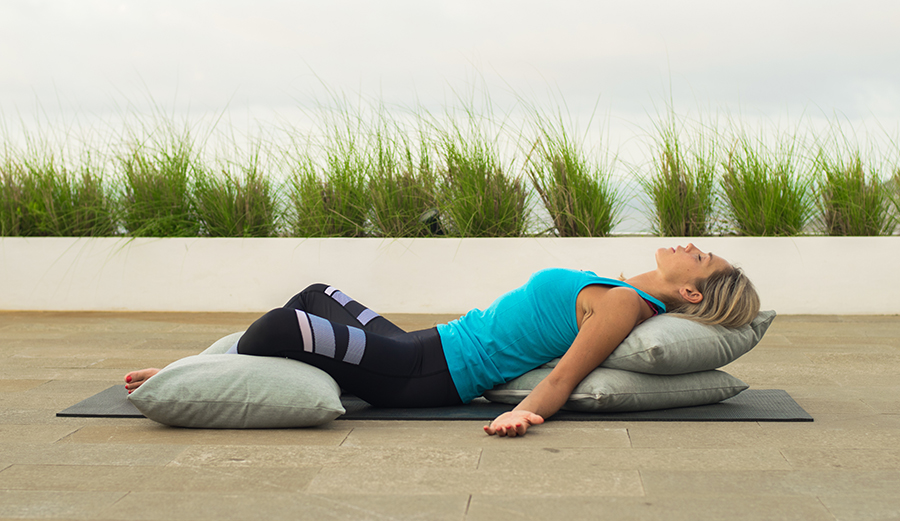
-Reclining Butterfly opens up the hips, releases tension in the thoracic spine and gently stretches the chest and shoulders. -You can support your knees on cushions to completely let go of tension in your hips. -To stretch your triceps, bring your arms up overhead and take hold of opposite elbows. -Relax into the pose for at least 3 minutes. Photo credit: Paul Baker @pbdrone
-
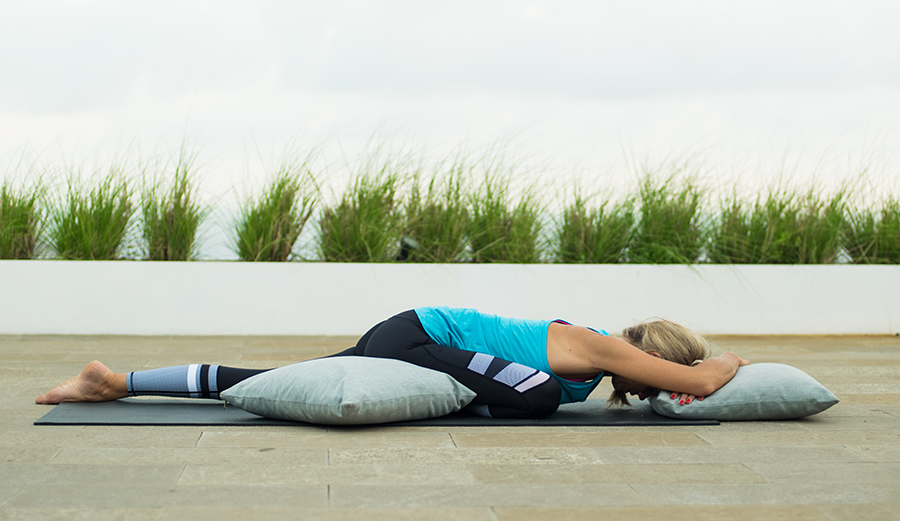
-Sleeping Pigeon is a deep hip opener that stretches the glutes and hip rotators of your bent leg and the hip flexors of your straight leg. -The bottom part of your front leg should be positioned on the diagonal. -If your hips are not level, you can put a cushion or two under the hip of your bent leg. -Try to let go of any tension, thoughts or distractions, holding the pose for at least 3 minutes on each side. Photo credit: Paul Baker @pbdrone
-
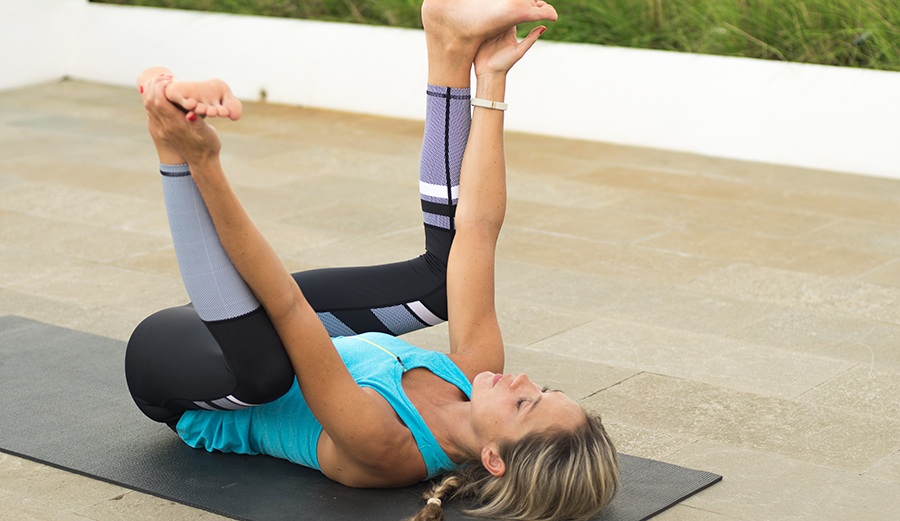
-Happy Baby stretches the groin and hamstrings and makes everyone giggle. -You can take hold of your ankles or behind your knees if you can't reach your feet. -Stay in the pose for a few breaths, rocking gently from side to side to loosen up tight spots in your hips. Photo credit: Paul Baker @pbdrone
-
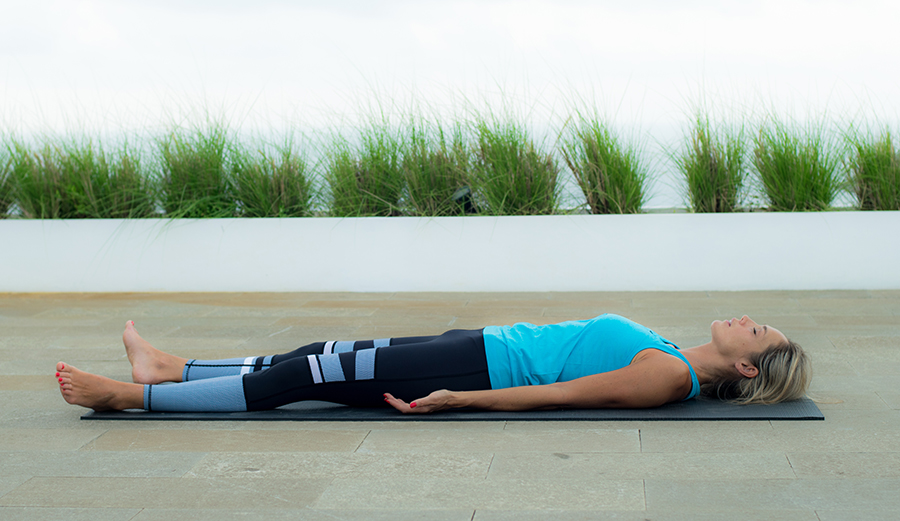
-Release your arms and legs and lie back in Final Resting Pose. Notice how your body feels and allow the stretches to sink in for a few minutes before moving back into your day. Photo credit: Paul Baker @pbdrone
“A hard physical challenge must be met with an equally intense recovery. That’s one of the most profound lessons that yoga taught me. You can’t just do the hard.” -Commander Mark Divine, former Navy Seal
If you haven’t tried Yin or Restorative yoga yet, it might be just what you’re looking for. It’s a style that requires no previous yoga experience and is ideal for:
- speeding up athletic recovery
- increasing flexibility
- loosening up tight joints
- easing aches and pains
- relaxing the body
- calming the mind
With Yin, unlike Vinyāsa or flow yoga, we hold each pose for three minutes or more. I’ve taught this class now to hundreds of surfers and here I’ve selected the 10 poses I’ve found to be most effective for stretching out your tightest spots.
I’ll give you some pointers for each of the poses and you can head to my site: www.yoga15.com for more detailed instructions and video tutorials.
Here are a few tips to get the most out of the routine
1. Use a timer. Start by holding each pose for 3 minutes on each side. If your aim is to improve your flexibility, increase the time by 5-10 seconds each session. You can hold most of the poses for 10 minutes or more.
2. Breathe in and out through your nose throughout the sequence. As you inhale, breathe deep into your belly, inflating it like a balloon. On every exhalation, squeeze all the air out as slowly as you can, drawing your belly button back to your spine.
3. As with all training, consistency is the key. This sequence will help you to relax if you do it every now and again but the real benefits are only going to come if you are consistent. You can do the full sequence a couple of times a week or break it up into poses and do 15 minutes, 3-5 days a week.
4. The aim of Yin yoga is to completely let go of tension as you settle into each pose. When your muscles are relaxed, they are much more receptive to stretching. Prop yourself up on as many cushions as you need to feel comfortable and relaxed.
5. The best time to do this sequence is at the end of the day and I don’t recommend doing it before vigorous exercise.
6. Be careful not to put your body in any position that causes you pain.
Click through the photo gallery above and follow the steps in each caption. And remember, restorative yoga is about training yourself to get better at dropping into a state of peace and stillness. Use it as an opportunity to fully relax and focus on yourself, without distractions. #metime